 Blaine Window
 Building New in Lynden? The Windows Are Where Corners Get Cut
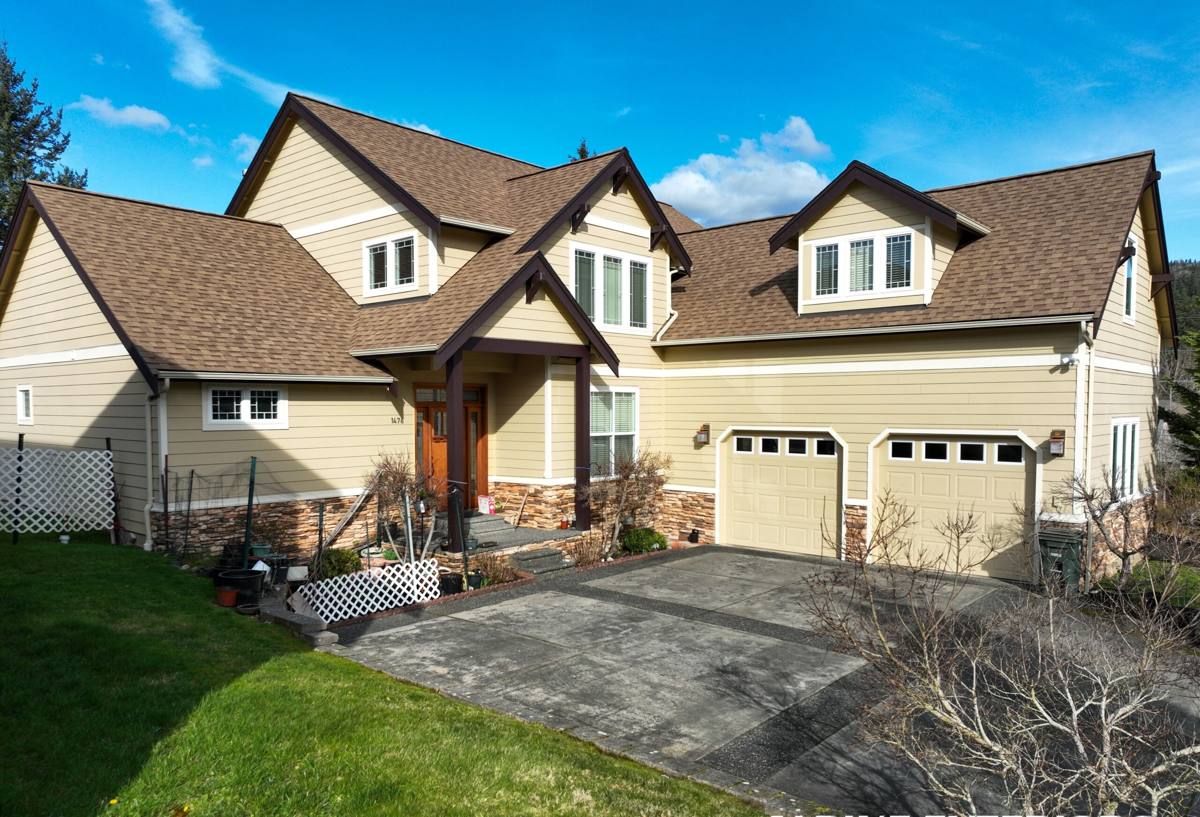
Lynden is one of the more active pockets of new home construction in Whatcom County, and we've installed windows on framing crews' schedules there more times than we can count. New-construction window work is different from replacement work in almost every way that matters — the windows go into open framing before siding, house wrap, and finish trim are in place, which means the installer is setting the moisture management system for the next 30-plus years, not just dropping a window into an existing hole. Get that sequencing wrong and the mistake gets buried behind drywall and siding, where nobody finds it until there's a stain on a ceiling or a soft spot under a sill.
This page is about that one job, done right, for homes going up in and around Lynden — what the local climate demands, what correct installation actually involves, and how we work alongside builders and owner-builders to get it done on schedule.
What Lynden's Climate Demands From New-Construction Windows
Lynden sits inland from Blaine and the coast, but it's still squarely inside Whatcom County's marine-influenced weather pattern — winters and shoulder seasons bring long stretches of driving, wind-blown rain rather than gentle vertical rainfall. That matters for windows because wind-driven rain gets pushed sideways and upward into gaps that a purely vertical rain event would never reach. Add to that the moss season that runs for much of the year on north- and shade-facing exteriors, and you've got two separate problems: keeping water out of the wall assembly, and keeping organic growth from breaking down exterior materials around the window opening over time.
A window itself can be excellent quality and still leak or fail early if the flashing detail around it wasn't built for this kind of weather. That's why we treat the installation — not just the product — as the thing that determines whether a window performs for 25 years or starts causing problems in five.
- Wind-driven rain needs a properly lapped flashing sequence, not just caulk at the perimeter
- Sill pans with a positive slope and back dam are what actually stop water that does get past the exterior cladding
- Materials and finishes around the opening should resist moss and mildew buildup, since that growth holds moisture against wood trim and siding
- House wrap integration has to be sequenced correctly with the window flanges — shingle-lapped, not just taped over
New-Construction vs. Replacement — Why the Distinction Matters
These are genuinely different trades, even though both involve putting a window in a wall. On a new-construction job, the window is set into open, unfinished framing, and the installer controls the entire water management path: the sill pan, the flashing tape sequence, the house wrap integration, and the nailing fin attachment. There's no existing trim, siding, or interior finish to work around — but there's also no room for a "we'll fix it in finishing" mentality, because everything installed at this stage gets covered up.
| Factor | New-Construction Install | Replacement Install |
|---|---|---|
| Window type used | Nail-fin (new-construction) frames | Pocket or full-frame retrofit units |
| Flashing access | Full access to sheathing, house wrap, sill | Limited to opening; existing siding stays in place |
| Sequencing | Coordinated with framer, wrap crew, and siding crew | Standalone job, minimal coordination needed |
| Water management | Installer builds the entire drainage path | Installer works within the drainage path already there |
| Timing pressure | Tied to the build schedule — delays cascade | Scheduled independently, more flexible |
We do both kinds of work, but we're flagging the difference because it changes what you should be asking a contractor. On a new build, you want to know their flashing sequence and how they coordinate with your framer or general contractor — not just what brand of window they carry.
What Correct Installation Actually Involves
The Sill Pan and Back Dam
Before a window ever sits in the opening, the rough sill should get a sloped pan with a back dam — a small raised lip at the interior edge that stops any water that gets past the window from running into the wall cavity or the floor framing below. This is the single most common shortcut we see skipped on rushed builds, and it's also the detail most responsible for hidden rot when it's missing.
The Flashing Sequence
Flashing tape and membrane need to be applied in a specific shingle-lap order — sill first, then jambs, then head — so that water moving down the wall is always directed outward over the layer below it, never trapped behind it. The house wrap gets integrated into this same sequence, lapped over the head flashing and under the jamb flashing, so the whole assembly sheds water as one system rather than a patchwork of separately caulked pieces.
Setting and Fastening
The window has to be set plumb, level, and square, then shimmed and fastened through the nailing fin per the manufacturer's pattern — skipping fasteners or over-driving them is a warranty issue as much as a performance one. We check for square and operate every sash before we call an opening finished, because a window that's slightly racked in the frame will bind, won't seal fully, and will wear its hardware out early.
Interior and Exterior Sealant
Backer rod and low-expansion foam at the interior perimeter control air leakage without bowing the frame; exterior sealant at the trim or J-channel is the last line of defense, not the first. If sealant is doing the job flashing should be doing, the install was done wrong.
Choosing the Right Window Products for a Lynden Build
Frame material matters less than correct installation, but it's still a real decision, and it interacts with this climate. We'll talk through your options honestly rather than push whatever's easiest to sell.
| Frame Material | Moisture Behavior Here | Maintenance | Where It Fits |
|---|---|---|---|
| Vinyl | Doesn't absorb moisture; performs well in wet climates | Low — rinse off moss spores and grime periodically | Most cost-effective, strong performer for full builds |
| Fiberglass | Dimensionally stable, handles our temperature swings and rain well | Low | Larger openings, higher-end builds wanting a slimmer sightline |
| Wood-clad | Good if detailed correctly, but end grain and joints are moisture-sensitive | Higher — finish and joints need monitoring, especially in shaded, moss-prone spots | Where the interior wood look is a priority and upkeep is expected |
| Aluminum | Conducts cold, prone to condensation without thermal breaks | Low structurally, but condensation issues need managing | Rarely our first recommendation for residential builds here |
For most new builds in Lynden, we steer owner-builders toward vinyl or fiberglass because they shrug off the wet-and-dry cycling this area gets without needing ongoing finish maintenance. If you want wood-clad interiors for the look, we're glad to install them — we just make sure you understand the maintenance commitment going in, since neglected wood trim in a moss-heavy microclimate is where problems start.
Our Process on New-Construction Jobs
- Plan review — we look at your window schedule and rough openings before framing is finished, so sizing issues get caught early, not on install day
- Scheduling coordination — we work directly with your general contractor or framer to slot in after dry-in and before siding closes the openings up
- Install — sill pans, flashing sequence, and fastening as detailed above, with photos of the flashing before it gets covered
- Walkthrough — every unit gets operated and checked for square before we sign off
- Follow-up — if trim or siding crews raise a question about the openings later in the build, we're reachable
Timing It With Your Build Schedule
Window delivery lead times can run several weeks depending on size, configuration, and manufacturer, so the biggest risk to a build schedule isn't the install itself — it's ordering too late. We'll help you finalize sizes and quantities early enough that windows are on-site and ready when your framing crew reaches dry-in, instead of holding up your siding and interior crews while you wait on a late order.
Checklist: What to Confirm Before Windows Go In
- Rough openings match the confirmed window schedule, not just the original plan set
- Sill pan flashing with a back dam is specified for every opening, not just the exposed ones
- House wrap sequencing is coordinated with the window installer, not left to whoever gets there first
- Frame material is chosen with this climate and your maintenance expectations in mind, not just cost
- Fastening schedule follows the manufacturer's specification for your wind and exposure zone
- Someone is documenting flashing details with photos before siding covers them
Why a Crew That Already Works Lynden Makes a Difference
New-construction window work depends on being available when a build actually needs you — framing schedules slip, weather windows close fast in Whatcom County's wet months, and a crew that's already routing through Lynden regularly can fit your job in without a long wait. We also know the rough opening conventions and inspection expectations that come up on builds in this area, so there are fewer surprises mid-schedule. When the framing crew, siding crew, and window installer aren't coordinating well, openings get built wrong, orders get placed off bad measurements, and everyone loses time fixing it. We'd rather be the crew that keeps that from happening in the first place.
If you're planning a new build in Lynden, or you're a builder who needs a window contractor who shows up on schedule and gets the flashing right the first time, we'll walk your plans with you and put together a straightforward estimate — no pressure, just a clear look at what your build needs. The form below is the easiest way to get started.