 Blaine Window
 Building New in the Dakota Creek Area: Windows Are Not an Afterthought
If you're framing a new home near Dakota Creek, the windows you choose and how they're installed will do more to determine your long-term maintenance headaches than almost any other exterior decision. This isn't a generic building envelope. Homes in this part of Whatcom County sit close enough to salt water and open exposure that wind-driven rain and salt-laden air are a fact of life, and the marine climate keeps siding, trim, and window sills damp for long stretches of the year. Get the window selection and the install sequencing right during framing and rough-in, and you avoid rot, seal failure, and corrosion problems that are expensive to chase down later. Get it wrong, and those problems can take years to show up — usually right around the time the workmanship warranty has expired.
We install new-construction windows in this area regularly, working alongside builders and owner-GCs from rough opening through final trim. This page is about what actually matters for that work here, not a general overview of window shopping.
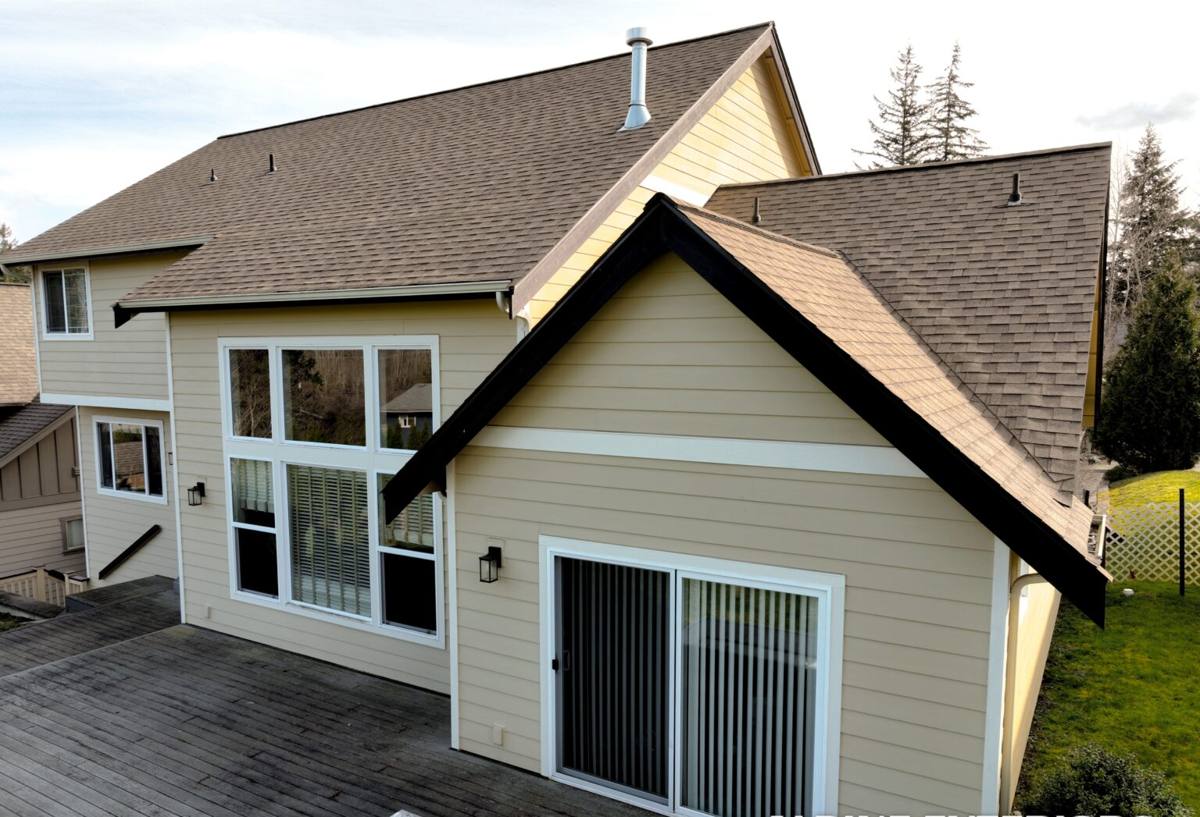
New Construction vs. Replacement: Why the Install Method Is Different
New-construction windows have a nailing fin (or flange) around the perimeter of the frame. That fin gets integrated directly into the wall's weather-resistive barrier (WRB) and flashing system before siding goes on. This is a completely different install than a replacement or "pocket" window going into an existing wall, and it's actually the more forgiving method — if it's done in the right order.
The catch is that new-construction installs only work as well as the flashing sequence around them. A window itself rarely fails. What fails is the water management detailing at the head, jambs, and sill — house wrap lapped the wrong direction, a missing sill pan, sealant used in place of proper flashing tape, or trim installed before the window's own drainage path was established. In a climate that gets sustained wind-driven rain off the water, those shortcuts show up as stained sheathing and soft trim within a few winters, not decades.
What a Correct New-Construction Install Includes
- Sloped or pan flashing at the rough sill so any water that gets past the window has somewhere to go — out, not into the wall cavity
- WRB (house wrap or building paper) integrated in the correct shingle-lap order: sill first, then jambs, then head, so water always sheds downward over the layer below it
- Flashing tape or flexible flashing at all four sides, compatible with both the WRB and the window manufacturer's flange material
- Backer rod and sealant at the interior air seal — a separate detail from the exterior water management, not a substitute for it
- Shimming and fastening per the manufacturer's schedule so the frame stays square and doesn't rack, which is what causes hardware and seal problems down the line
- Rough opening sized correctly for the window unit, with clearance for shimming and expansion — not cut tight "to save a step"
Choosing Windows for Salt Air and Driving Rain
Not every window on the market is a good fit for a site with meaningful salt exposure. A few things we weigh with homeowners and builders in this area:
Frame Material
Vinyl windows perform well here and are the most common choice for new construction — they don't corrode, they handle moisture cycling well, and they're priced for whole-house use. Fiberglass frames cost more but move less with temperature swings and hold paint or factory finish longer, which matters on south- and west-facing walls that get the most weather. Wood and wood-clad windows can look excellent but need real upkeep in this climate — any exposed or under-maintained wood near salt air and constant moisture is a maintenance commitment, not a set-and-forget choice. We'll tell you honestly which category fits your project and budget rather than upselling a product that needs more care than you're planning to give it.
Hardware and Finish
Salt air accelerates corrosion on unprotected metal — hinges, cranks, locks, and screen hardware. We favor manufacturers that spec corrosion-resistant hardware and finishes for coastal or marine exposure, and we point out on the spec sheet where a builder-grade hardware package might be a false economy for a site this close to the water.
Glass Package
Whatcom County's marine west coast climate means moderate temperatures but a lot of grey, wet, low-sun days. A double-pane, low-E unit with argon fill is standard and performs well for both winter heat retention and summer glare control. We size the glass package (U-factor and solar heat gain coefficient) to orientation — a north-facing bedroom window doesn't need the same spec as a west-facing great room wall.
| Factor | Vinyl | Fiberglass | Wood-Clad |
|---|---|---|---|
| Upfront cost | Lowest | Mid-to-high | Highest |
| Salt air / moisture tolerance | Very good | Excellent | Good exterior, needs maintenance |
| Maintenance | Minimal | Low | Ongoing (finish, sealant checks) |
| Typical use case here | Whole-house new builds | Weather-exposed elevations, higher-end builds | Interior warmth where exterior is protected |
Moss, Algae, and the Long Wet Season
Anyone who's owned a home in this region knows moss doesn't stop at the roofline. It colonizes sills, horizontal trim, and anywhere water sits instead of draining. For new construction, the fix isn't a chemical treatment after the fact — it's designing the detail out from the start: sills with real slope away from the glass, drip caps or head flashing that actually kick water clear of the wall below, and trim profiles that don't create a flat ledge where organic growth can take hold. We build these details into the install rather than treating moss as something you deal with later with a hose and a brush.
Our New-Construction Process
- Plan review and window schedule: we confirm sizes, swing/operation types, and glass specs against the architectural plans before anything is ordered, so there are no rough-opening surprises at frame stage.
- Rough opening verification: we check openings against the ordered unit sizes before install day — catching a framing error before the window shows up on site is far cheaper than after.
- Flashing and WRB integration: sill pan, jamb and head flashing, and house wrap lapping done in sequence, inspected before siding closes it up.
- Set, shim, and fasten: to manufacturer spec, checked for square, level, and plumb — not just "looks straight."
- Interior air seal and exterior sealant: backer rod and sealant at the interior, compatible sealant at any exposed exterior joints per the manufacturer's install guide.
- Final walk-through: operation check on every unit — locks, cranks, screens — plus a visual check of flashing laps before trim and siding crews move on.
Working With Your Builder or GC
Most of our new-construction window work happens as a sub to a general contractor or as a coordinated trade alongside a framing crew. Timing matters: windows need to go in after the WRB is up but before siding closes the wall, and ideally during a dry-in window rather than mid-storm. We work off the builder's schedule, communicate directly with the site super on delivery and install dates, and flag any rough-opening or plan discrepancies early rather than after trim is already on. If you're the homeowner acting as your own GC, we can walk you through what to have ready — opening dimensions confirmed, WRB installed and inspected, and a dry stretch scheduled if the forecast allows it — before we're on site.
What Drives Cost on a New-Construction Window Package
| Factor | Why it matters |
|---|---|
| Frame material | Vinyl, fiberglass, and wood-clad carry different material costs and lead times |
| Number and size of units | Larger openings and specialty shapes (transoms, picture windows) add labor and material cost |
| Elevation exposure | West- and south-facing walls exposed to weather may warrant upgraded flashing or glass specs |
| Hardware package | Corrosion-resistant hardware for salt-air exposure costs more than standard builder-grade |
| Site access and phasing | Coordinating around a build schedule versus a stand-alone install affects crew time |
We give straightforward, itemized quotes rather than a single lump number, so you can see where the money's going and make informed trade-offs if the budget is tight.
Why a Local Crew That Knows This Ground Matters
A window installer who mostly works inland doesn't necessarily think about salt exposure, wind-driven rain off the water, or how aggressively moss takes hold in this particular stretch of Whatcom County. We work new-construction jobs in the Blaine area regularly, which means we're not learning the local climate's demands on your project — we already build for them. That shows up in small decisions: which flashing tape actually stays adhered in damp, cool conditions; which hardware finishes hold up; how sill details need to be sloped for this amount of driving rain. None of that is exotic, but it's the difference between a window package that's still tight and clean in fifteen years and one that's already showing rot at the sill in five.
Get an Estimate
If you're planning new construction near Dakota Creek and want a straightforward look at window options, specs, and install timing for your build, we're glad to walk the plans with you. Fill out the form below for a free, no-pressure estimate — no obligation, just a clear picture of what the job involves and what it'll cost.