 Blaine Window
 Building New in Cherry Point Means Building for the Water
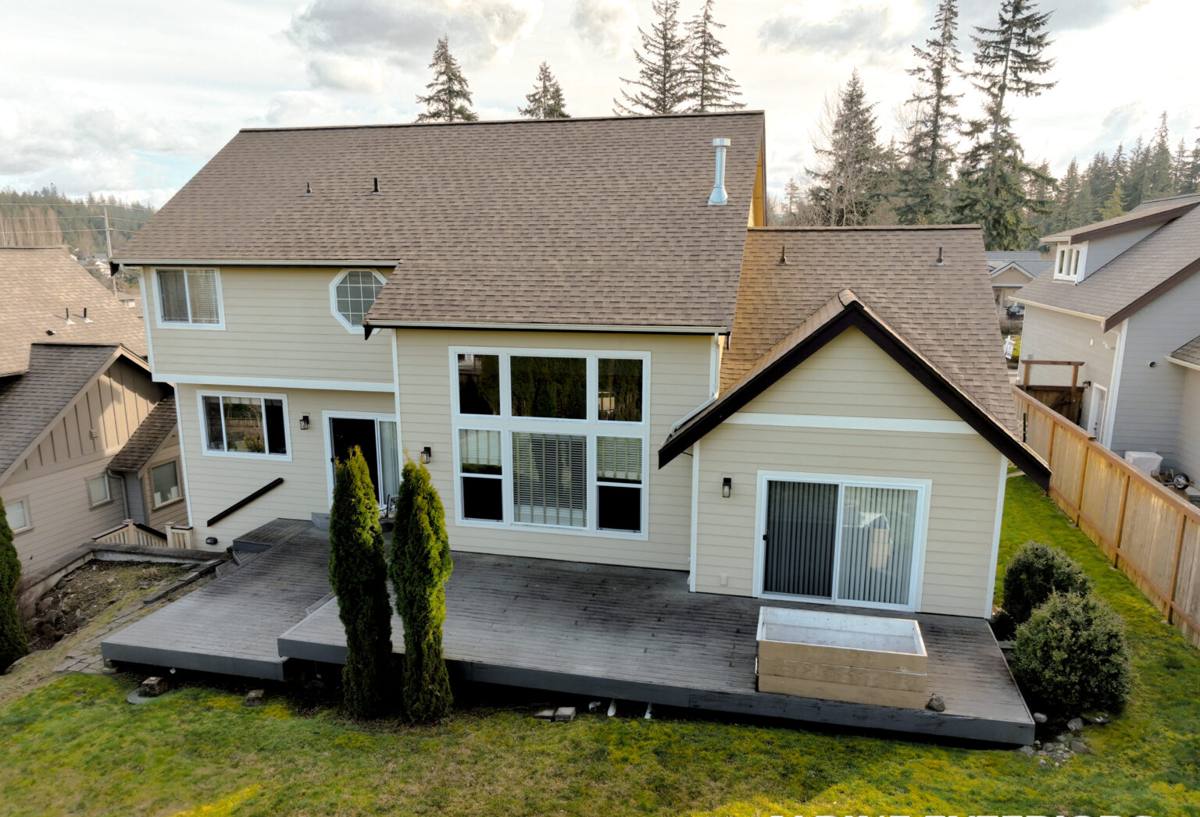
Cherry Point sits on Whatcom County's northern shoreline, close enough to the Strait of Georgia that the weather off the water shapes almost every decision in a new build. If you're framing a new home or a major addition out here, your windows are one of the few components that have to perform against salt-laden air, wind-driven rain, and long stretches of damp, low-sun conditions every single year. Get them right during construction and you won't think about them again for decades. Get them wrong — even in small ways, like a missed flashing lap or the wrong sealant — and you're looking at rot, stains, or failed seals within a handful of winters, usually hidden behind finished walls where nobody notices until the damage is expensive.
New construction is the one point in a home's life where windows can be installed exactly right, with full access to the rough opening, the structural framing, and the weather-resistive barrier before anything is closed in. That's the advantage this page is about: doing it correctly the first time, specifically for a Cherry Point site.
What This Climate Actually Does to a Window Opening
Three things define window performance out here, and they don't act alone — they compound.
Salt Air
Airborne salt off the strait accelerates corrosion on anything metal — hinges, cranks, screws, and especially lower-grade aluminum cladding or hardware. It also breaks down cheap sealants and finishes faster than an inland home would ever see. This is a materials-selection problem as much as an installation problem.
Driving Rain
Storms coming off the water don't fall straight down — they push sideways into the wall assembly under wind pressure. A window opening that would stay dry in a calm rain can take on water when rain is driven horizontally against the siding. That means flashing details and drainage paths matter more here than they would on a sheltered inland lot.
Moss and Prolonged Dampness
Cherry Point's moss season isn't just a roof problem. Shaded elevations and north-facing walls stay damp for weeks at a time in fall and winter, and moss and algae will colonize any horizontal surface that holds moisture — including window sills, trim, and mulled joints between units. Standing moisture on a sill that isn't properly sloped and flashed becomes an entry point for water over time.
None of these are exotic problems. They're the normal cost of building on this stretch of coastline, and a correct new-construction window installation is designed around all three from the start.
What a Correct New-Construction Window Job Involves
New-construction installation is fundamentally different from a replacement job. With replacement windows, you're working around an existing wall. With new construction, the window is set into a bare rough opening before siding, and it becomes part of the building's water-management system — not just a hole with glass in it. That means the work below has to happen in the right order, every time:
- Rough opening checked for square, level, and correct dimensions before the window ever arrives on site
- Sill pan flashing installed to shed any water that gets past the window back out to the exterior, not into the framing
- Weather-resistive barrier (housewrap) integrated with the flashing in proper shingle-lap order — each layer overlapping the one below it, so water always drains outward and down
- Window set, shimmed level and plumb, and fastened per the manufacturer's structural requirements — not just "close enough"
- Head, jamb, and sill flashing tied into the housewrap with correct lap sequence and compatible tape or sealant
- Nailing fin or flange fully fastened per spec, with no gaps that let wind-driven rain track behind the flashing
- Interior and exterior sealant joints placed only where they belong — sealing the wrong joint can trap water instead of keeping it out
- Final check for level, square, and smooth operation before insulation and drywall close the opening up for good
Every one of those steps is invisible once the siding goes on. That's exactly why it has to be done right the first time — there's no cheap way to inspect or fix it later without opening the wall back up.
Choosing Windows That Actually Hold Up on This Site
Not every window sold at a big-box store is built for a shoreline lot. Frame material, hardware grade, and glass package all affect how a window ages in salt air and constant damp. We spec new-construction windows based on the exposure of each elevation, not a single default product across the whole house.
| Factor | What to Look For in a Coastal Build | Why It Matters Here |
|---|---|---|
| Frame material | Fiberglass or well-cladded vinyl with marine-rated hardware | Resists corrosion and doesn't pit or chalk the way bare aluminum can in salt air |
| Hardware and fasteners | Stainless steel or corrosion-resistant coated hardware | Standard-grade steel hardware corrodes faster this close to the water |
| Glass package | Dual-pane, low-E, argon-filled, matched to Washington State Energy Code targets | Cuts heat loss through the long, damp shoulder seasons and reduces interior condensation |
| Sill design | Sloped sill with a clear drainage path | Prevents standing water that invites moss, algae, and slow rot at the sill |
| Weatherstripping | Dual or triple compression seals | Holds up against sustained wind pressure during driving-rain events |
We'll walk through these choices with you elevation by elevation — a window facing open water or prevailing wind needs a different spec than one tucked on a sheltered side of the house, even on the same build.
How Our Process Works on a New Build
We coordinate directly with your builder or general contractor rather than working in isolation, because window timing affects several other trades. Typically that looks like:
- Plan review — we go through the window schedule against the actual framing plan to catch sizing or swing-direction issues before ordering, not after
- Site walk at rough framing — verifying openings are correct before windows are ordered, since a mistake caught now costs nothing and a mistake caught after ordering costs weeks
- Coordination with the weather-barrier and siding trades — flashing sequencing is only right if everyone installs their layer in the correct order
- Installation — following manufacturer instructions and current best-practice flashing details, documented as we go
- Pre-drywall check — final look at every opening before insulation covers the evidence
That coordination step matters more than people expect. A huge share of window water problems trace back not to the window itself, but to a handoff between trades where nobody was clearly responsible for how the flashing layers overlapped.
Meeting Code and Energy Requirements
New-construction windows in Whatcom County have to meet the Washington State Energy Code's requirements for U-factor and solar heat gain, and they're subject to inspection as part of the building permit process. We spec products that meet or beat those targets as a baseline, then adjust up for exposure where a particular elevation needs it — south and west walls generally benefit from a different solar heat gain coefficient than north-facing ones in our climate. We handle the documentation your inspector will want to see, so this isn't something you have to track down yourself mid-build.
Before Drywall Goes Up: A Checklist Worth Having
If you're a homeowner keeping an eye on your build, or a GC bringing in a second set of eyes, these are the things worth confirming on every window before the wall closes up:
- Window is level, plumb, and square in the opening — not just "looks straight"
- Sill pan flashing is present and properly lapped, not just housewrap tucked into the opening
- Flashing tape or sealant has good adhesion — no gaps, wrinkles, or fishmouths at the corners
- Nailing fin is fastened at every specified location, not just the corners
- Sash opens, closes, and locks smoothly with no binding
- No visible daylight or air movement around the frame with the sash closed
- Weep holes (if the product has them) are clear and unobstructed
Any reputable installer should be comfortable walking you through each of these on your own build.
Why Local Experience on Cherry Point Specifically Matters
A window that's correctly installed in a sheltered inland subdivision can still fail on a shoreline lot if it's installed the same way. Exposure changes wind-load expectations, flashing detail choices, and even how much slope a sill needs to shed water fast enough during a driving-rain event. A crew that's worked new construction around Cherry Point and the broader Blaine area already knows which elevations tend to take the worst of the weather, how the moss season affects sill and trim choices, and what the local building department expects to see at inspection. That's not something you can fully substitute with a generic installation manual — it comes from having done the work on this stretch of coastline before.
If you're framing a new home or planning an addition in Cherry Point and want windows specified and installed to hold up against salt air, driving rain, and moss season from the start, we're happy to walk your plans and give you a straightforward, no-pressure estimate. Use the form below to get started.