 Blaine Window
 Why California Creek Siding Wears Differently
California Creek sits close enough to the water that homes here take a harder hit from the elements than siding just a few miles inland. Salt-laden air off the water accelerates corrosion on fasteners and metal trim, wind-driven rain gets pushed sideways into laps and joints that were never designed to handle standing moisture, and the long, damp Whatcom County shoulder seasons keep siding wet for days at a time. Add a shaded lot under conifers, which is common in this area, and you get moss and algae growth that holds moisture against the wall assembly even longer.
None of this means siding here is doomed — it means siding repair in California Creek has to account for exposure, not just patch whatever is visibly cracked or peeling. A repair that would hold up fine on a dry, sun-exposed lot inland can fail again within a season or two on a shaded, wind-exposed lot near the water.
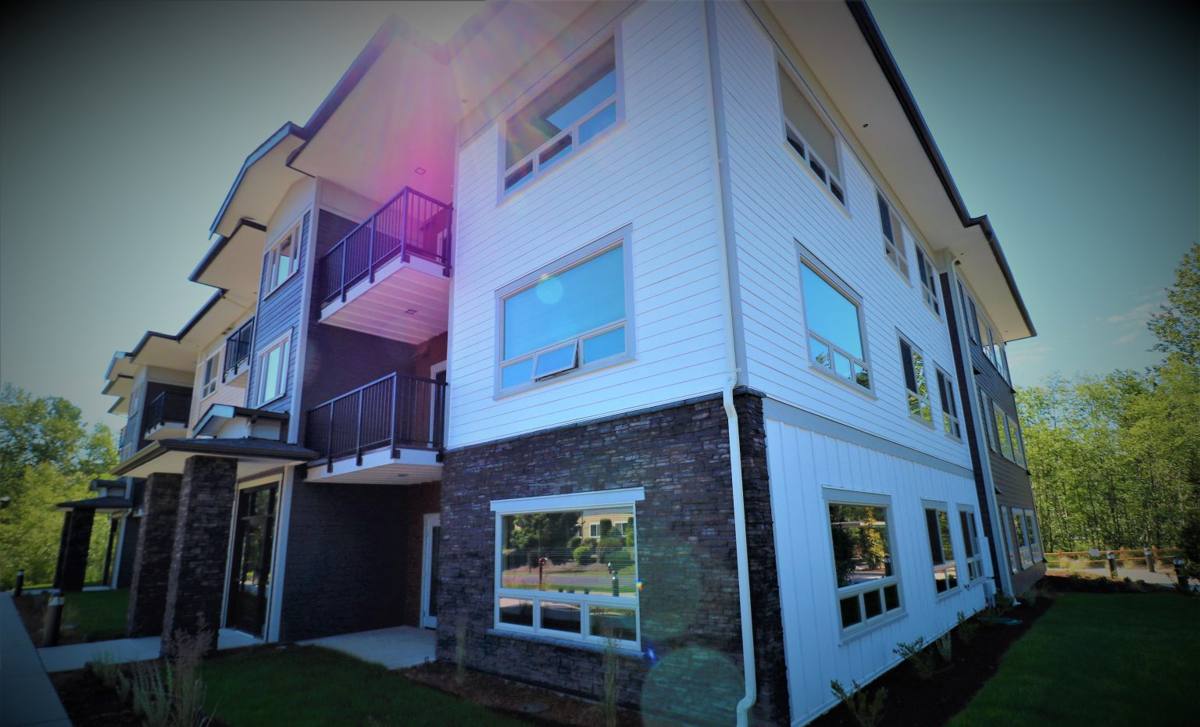
Signs Your Siding Needs Repair, Not Just Paint
Homeowners often call about a paint problem when the real issue is underneath the surface. Here's what actually points to a repair need rather than a cosmetic touch-up:
- Soft or spongy spots when you press on a panel, especially near the bottom courses close to grade
- Dark streaking or persistent green-black growth that comes back within weeks of cleaning
- Visible gaps opening up at butt joints, corner trim, or around window and door casings
- Paint that's bubbling or peeling in sheets rather than just fading or chalking
- Warping, cupping, or bowing panels, particularly on north- and west-facing walls
- Fastener heads popping through the surface or rust streaks running down from nail heads
- Any interior signs — a musty smell, discoloration on an interior wall, or a soft spot in drywall on an exterior wall
Any one of these on its own might be minor. Several together, especially on a wall that faces prevailing weather, usually means moisture has been getting behind the siding for a while.
Where Damage Concentrates on Coastal Whatcom County Homes
In our experience working around Blaine and the water-facing neighborhoods nearby, damage isn't random — it clusters in predictable places. Lower courses near grade take splashback and stay damp longest. Butt joints and corner trim are where water intrusion usually starts, because these are the seams in the water-shedding system. North-facing walls and anything shaded by trees hold onto moisture and grow moss faster than sun-exposed elevations. And any spot where a deck, porch roof, or utility penetration breaks the siding plane is a common failure point if the flashing detail wasn't done correctly the first time.
What a Correct Siding Repair Actually Involves
A repair that's done right is not just cutting out a bad section and nailing up a new piece that looks close enough. It's a small-scale version of the same discipline that should go into a full installation.
Diagnose Before You Patch
The first step is figuring out why that section failed. Was it a flashing gap, a caulk joint that was never designed to be the primary water barrier, a missing kick-out flashing at a roof-wall intersection, or just age and exposure catching up with the material? If we patch over the symptom without fixing the cause, the same failure shows up again in the same spot within a year or two — and that's a bad use of a homeowner's money.
Check What's Behind the Siding
Once panels are pulled, we look at the house wrap or building paper, the sheathing, and the framing underneath. If there's soft or delaminated sheathing, that gets addressed before anything new goes back up — siding is only as good as what it's fastened to. This is also the point where we take moisture readings if there's any question about how far water has traveled.
Match the Existing Material and Finish
If the home already has James Hardie fiber cement siding, matching is usually straightforward — the plank profile, exposure, and ColorPlus factory finish are consistent and traceable, so a repaired section blends in rather than looking like a patch. If the home has a different siding material, matching gets harder, and that's a conversation worth having honestly before work starts (more on that below).
Rebuild the Water-Shedding Detail, Not Just the Surface
Correct flashing at joints, proper lap and fastener pattern, and a drainage path behind the cladding matter more than how the patch looks from the driveway. A repair that looks perfect but was face-nailed with no attention to water path will fail again.
Repairing Non-Hardie Siding: An Honest Conversation
We install James Hardie fiber cement exclusively on new work and full replacements, because we've seen how it holds up in this climate compared to the alternatives. But repair calls come in on all kinds of existing siding — cedar, primed spruce, LP SmartSide, vinyl, and older fiber cement brands — and we'll assess and repair what's already on the house when that's the right call for the budget and the damage.
What we won't do is pretend every material repairs the same way:
| Existing Material | Repair Reality |
|---|---|
| Cedar | Matching weathered color is difficult; underlying rot often extends beyond the visible damage |
| Primed spruce / wood composite | Moisture damage tends to spread along the panel; patched sections often fail again without full-course replacement |
| LP SmartSide | Edge and seam swelling is a known weak point; repairs hold better when full panels are swapped rather than partial patches |
| Vinyl | Discontinued colors and UV-faded panels are hard to match exactly; cracked panels in cold weather are common |
| Older fiber cement (non-Hardie) | Discontinued profiles can make sourcing matching replacement pieces difficult |
| James Hardie fiber cement | Consistent factory-finished color and standardized profiles make like-for-like matching straightforward |
When damage on a non-Hardie wall is widespread rather than isolated, we'll tell you plainly if a section-by-section repair is throwing money at a problem that a partial re-side with Hardie would solve more permanently. That's not an upsell — it's the same reasoning that led us to standardize on Hardie for our own installs: less callback risk, better long-term behavior in wet, salt-exposed conditions.
Repair vs. Replace: How We Help You Decide
| Factor | Leans Toward Repair | Leans Toward Replacement |
|---|---|---|
| Extent of damage | Isolated to one or two sections | Spread across multiple walls or elevations |
| Cause | One-time event (impact, isolated flashing failure) | Systemic — original install issues, chronic moisture |
| Sheathing condition | Sound underneath | Soft, delaminated, or water-stained |
| Material age | Recent, well-matched material available | Discontinued profile or badly faded/inconsistent color |
| Home's overall siding age | Siding otherwise has years of life left | Siding is near end of expected service life anyway |
We'll walk the exterior with you, point out what we're seeing, and give you a straight answer on which side of that table your house falls on — not the answer that happens to be more profitable for us.
Our Repair Process for California Creek Homes
- Inspection — we walk every elevation, not just the section you called about, since damage often exists in more than one spot on a coastal-exposed home
- Diagnosis — we identify the actual cause of failure (flashing, joint, fastener, or material issue) before quoting a fix
- Scope and estimate — a clear, written explanation of what needs to happen and why, including whether sheathing repair is needed
- Material sourcing — matching Hardie ColorPlus product where applicable, or the closest honest match on existing non-Hardie siding
- Repair execution — proper flashing and lap details rebuilt, not just the visible surface
- Site cleanup and walk-through — so you can see exactly what was done and why
Why Local Experience in California Creek Matters
A crew that already works this stretch of Whatcom County knows which walls take the worst of the wind-driven rain, which lots hold onto moss longest because of tree cover and shade, and which older subdivisions near Blaine tend to have the same flashing shortcuts from their original construction era. That's not something you can look up — it's pattern recognition built from being on these roofs and walls repeatedly. It means we're not guessing at what caused your specific failure; we've usually seen the same failure a few houses over.
It also means realistic scheduling. Repair work here goes faster and holds up better when it's timed around the wetter stretches of the year rather than squeezed in during a rainy week, and a crew familiar with the area plans around that instead of learning it on your job.
Maintaining Your Siding Between Repairs
Whatever material is on your home now, a few habits slow down the damage that leads to repair calls in the first place:
- Keep gutters clear so water isn't overshooting onto the wall below
- Trim back vegetation and tree cover where practical to reduce shade-driven moss growth
- Rinse off moss and algae buildup before it has a chance to hold moisture against the surface long-term
- Re-caulk failing joints promptly rather than waiting for water to find its way behind the panel
- Have any soft spots or bubbling paint looked at early — small isolated repairs are almost always cheaper than what they turn into if ignored
If you're seeing any of the warning signs above on a California Creek home, or you just want an honest read on whether a section needs a repair or the wall needs more, we're glad to take a look. The estimate is free and there's no pressure either way — we'll tell you what we actually see.