 Blaine Window
 Siding Repair in Birch Bay Isn't the Same Job as Siding Repair Inland
Birch Bay sits right on the water in northern Whatcom County, and that changes what "siding repair" actually means here. A cracked board or a soft spot near grade might sit quietly for years on an inland home. On a Birch Bay property, the same damage is sitting in salt-laden air, taking wind-driven rain sideways off the water, and dealing with a moss and mildew season that runs most of the year on shaded walls. A small repair delayed a season or two out here tends to grow faster than the same repair would somewhere more sheltered.
We do full siding replacement too, but repair is its own discipline — smaller in scope, but not smaller in the amount of judgment it takes. A repair has to match the existing wall, tie into flashing and drainage that's already in place, and hold up under the same coastal exposure as everything around it. Done carelessly, a patch job can actually create a new leak point instead of fixing the old one. This page covers what we look for, how we decide between repair and replacement, and what a repair should involve on a Birch Bay home specifically.
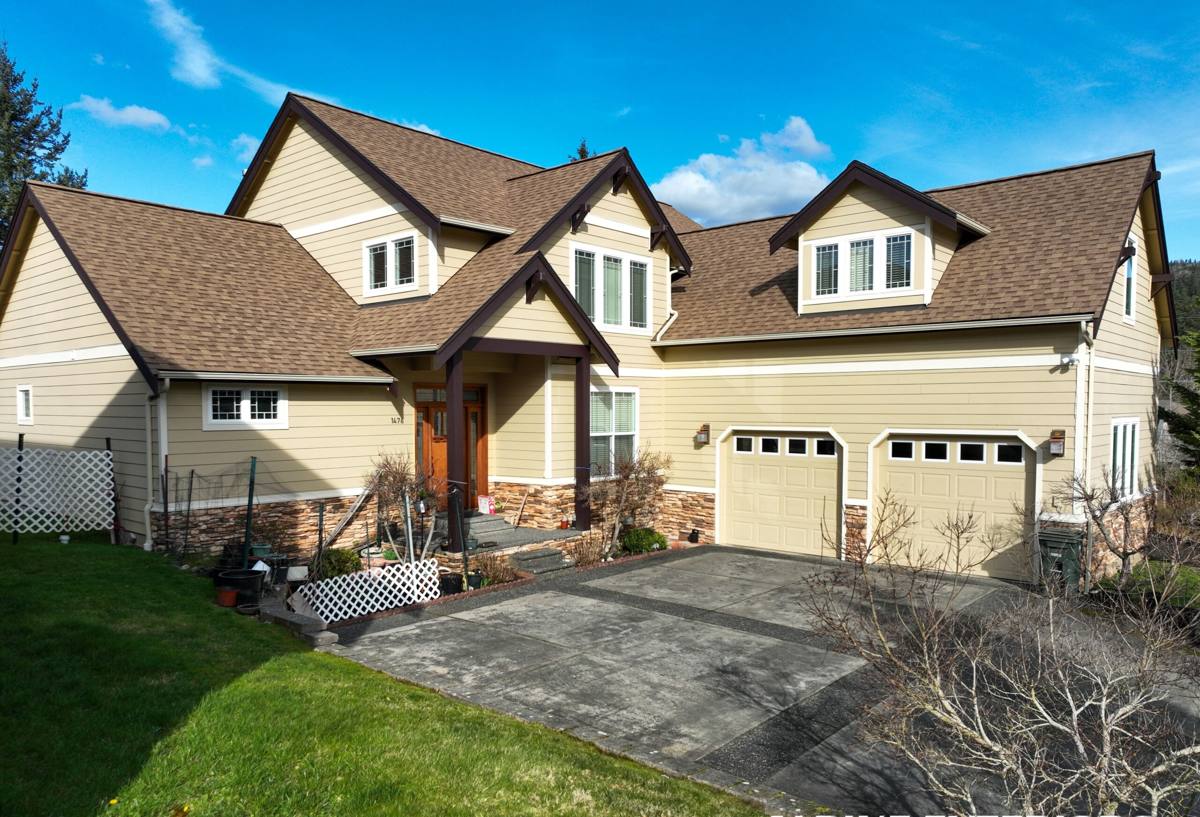
What Actually Damages Siding in Birch Bay
Storm and Impact Damage
Wind off the water is the most common cause of the repair calls we get in Birch Bay — a gust-driven branch, debris, or a section of siding that simply gets overstressed and cracks at a fastener point. Impact damage tends to be obvious and localized, which usually makes it a straightforward repair as long as it's addressed before water gets behind the crack.
Moisture Working in Behind the Panels
This is the damage that's harder to see and does more long-term harm. Wind-driven rain off the bay doesn't fall straight down — it gets pushed sideways into seams, trim joints, and anywhere flashing wasn't lapped correctly the first time. By the time it shows as a soft spot or dark staining on the face of the siding, moisture has usually been getting behind the wall for a while.
Moss and Organic Growth at Seams and Joints
Shaded, north-facing walls and anything close to tree cover develop moss and mildew fastest in this climate, and it tends to concentrate right where panels meet — butt joints, corner trim, and the bottom edge near grade. Growth at a seam holds moisture against the material longer than a flat, sun-exposed wall, which is part of why seam-area damage shows up disproportionately often on repair calls out here.
Fastener and Trim Corrosion
Salt air accelerates corrosion on fasteners, corner trim, and any exposed metal flashing faster than it would a few miles inland. A rusted or failed fastener doesn't just look bad — it stops holding the panel the way it's supposed to, which opens a gap for wind-driven rain to get behind the siding.
Repair or Replace? How We Make the Call
Not every damaged section needs a full re-side, and we don't default to recommending replacement just because it's a bigger job. The honest answer depends on how much of the wall is affected, what's happening underneath, and how old the existing siding is relative to its expected service life.
| Situation | Usually Points to Repair | Usually Points to Replacement |
|---|---|---|
| Damage extent | Isolated to one or two panels or a single wall section | Recurring damage across multiple walls or elevations |
| Sheathing condition | Dry, solid sheathing found once the damaged section is opened up | Soft, rotted, or water-stained sheathing over a larger area |
| Siding age | Well within its expected service life, single problem area | Nearing or past 25-30 years with widespread wear |
| Underlying cause | A one-time event — impact, a failed fastener, a lifted piece of trim | Systemic moisture intrusion behind the wall assembly |
The only way to know which category a given repair falls into is to open it up and look. We won't quote a repair sight-unseen, because a board that looks like a simple patch from the ground can turn out to be sitting over compromised sheathing once it actually comes off the wall.
What a Correct Hardie Repair Involves
Matching Plank Profile and Reveal
James Hardie siding comes in specific plank widths, exposures, and profiles, and a repair needs to match the reveal and butt joint pattern of the surrounding wall exactly. A mismatched reveal is easy to spot from the street and signals a rushed job even when the underlying work is sound.
Checking the Sheathing Before Anything Goes Back On
Once a damaged section comes off, we check the sheathing and house wrap underneath before installing anything new. Fastening a new board over compromised sheathing just hides a problem that keeps getting worse behind the wall — we'd rather find soft sheathing at this stage than have it turn into a bigger repair call in a year or two.
Flashing and Fastening Redone to Spec
A repair is also a chance to correct whatever let water in the first place. That usually means re-lapping house wrap correctly, replacing any compromised flashing, and fastening the new section to Hardie's spec rather than just matching whatever fastener pattern happened to be there before.
The Color-Match Reality on a Hardie Repair
One thing worth being upfront about: James Hardie's ColorPlus finish is factory-applied and extremely durable, but it also weathers very evenly and very slowly over years of sun and salt exposure. A brand-new board installed next to siding that's been on the wall for a decade will usually look slightly brighter at first, even though it's the same color from the same product line. That difference tends to fade as the new section weathers in over a season or two, but it's rarely invisible on day one.
For a small, less visible repair — low on a wall, around a utility penetration, behind landscaping — that's usually a non-issue. For a repair on a highly visible, sun-facing wall, it's worth discussing before the work starts so there are no surprises at the walkthrough. We'll always tell you honestly which category a given repair falls into rather than promising an invisible match that fiber cement products can't fully deliver on an older wall.
Our Repair Process, Step by Step
- On-site inspection: We look at the damaged section itself and check the surrounding wall for signs the problem extends further than what's visible from the ground.
- Isolate and remove the affected section: Only the damaged material comes off — we don't open up more of the wall than necessary, but we don't stop short of a full assessment either.
- Inspect sheathing and house wrap: This is the step that determines whether it's a straightforward repair or something that needs to expand in scope.
- Correct any flashing or drainage issue found: If the original cause was a flashing gap or a moisture path, that gets fixed as part of the repair, not left in place under new siding.
- Install matched Hardie material to spec: Correct fastener type and spacing, proper reveal, and sealed joints and trim transitions.
- Final walkthrough: We show you what we found, what we did about it, and what to expect from the color match over the next season.
What Drives Repair Cost in Birch Bay
| Factor | Why It Matters |
|---|---|
| Size of the damaged area | A single panel is a different job than a full wall section, both in material and labor |
| Sheathing condition underneath | Dry sheathing keeps a repair simple; rotted sheathing adds real scope and cost |
| Accessibility | Second-story sections, tight setbacks, or areas needing scaffolding add time |
| Matching material availability | Matching an older or discontinued Hardie color or profile can take more sourcing time than a current product line |
| Trim and flashing scope | A repair that also needs new corner trim or flashing costs more than a straight panel swap |
These are general drivers, not a number — we won't quote a repair without seeing it in person, since what looks like a two-board patch from the driveway can turn into a different job once the wall is actually open.
Timing a Repair Around Birch Bay's Wet Season
Whatcom County's wettest, windiest stretch runs from late fall through winter, and Birch Bay's direct water exposure makes that stretch harder on both the house and the work itself than it is further inland. Repairs that go in during dry, stable weather have a real advantage — house wrap, flashing sealant, and fiber cement all perform better when they're installed and allowed to set up without a storm moving through partway. That said, active moisture intrusion doesn't wait for good weather. A soft spot or visible gap letting water in right now is worth addressing on its own timeline, with weather-appropriate methods, rather than holding out for spring.
Why a Local Birch Bay Crew Matters for Repair Work
Repair work rewards local, hands-on experience more than a full re-side does, because so much of it comes down to correctly reading what a specific piece of damage on a specific wall is actually telling you. A crew that works this stretch of coastline regularly has seen the same failure patterns repeat — where moss builds up first, which walls take the worst of the wind-driven rain, which trim details tend to fail earliest in salt air — and that pattern recognition is what separates a repair that holds for another twenty years from one that's back on the schedule in eighteen months.
It also matters after the work is done. A repair warranty is only useful if there's a crew still working in the area to honor it. Working Birch Bay regularly, not as an occasional stop, means a follow-up question or a warranty call goes to people who already know the house.
Before Hiring Anyone for a Siding Repair in Birch Bay
- Ask them to physically open up the damaged area before quoting a price, not estimate from the ground or a photo
- Ask what they do if they find rotted sheathing once the old siding is off, and get that answer in writing as part of the scope
- Confirm they're matching your existing Hardie product line and profile, not substituting a similar-looking alternative
- Ask how they handle flashing and drainage detailing at the repair, not just the visible panel replacement
- Confirm current Washington contractor licensing and insurance before any work starts
If you've got a damaged, soft, or failing section of siding on a Birch Bay home, we're glad to come take a look and give you an honest read on what it actually needs — repair or replacement, no pressure either way. Reach out using the form below for a free estimate.