 Blaine Window
 Building New in Nooksack? The Windows Have to Work Harder Here
Framing a new home or a major addition in the Nooksack area gives you one real chance to get the windows right before siding, trim, and interior finishes close everything up. Get the flashing and sill details wrong at this stage, and the mistake gets buried — you won't see it again until there's a stain on the drywall or a soft spot under a windowsill years later. We install new-construction windows for homes in and around Blaine and greater Whatcom County, and the local conditions here are demanding enough that we treat every install as if it has to survive decades of wind-driven rain off the water and a moss season that doesn't really end.
This page covers what new-construction window installation actually involves, what this climate asks of the work, and how we run the job when we're brought in during framing rather than fixing an old opening later.
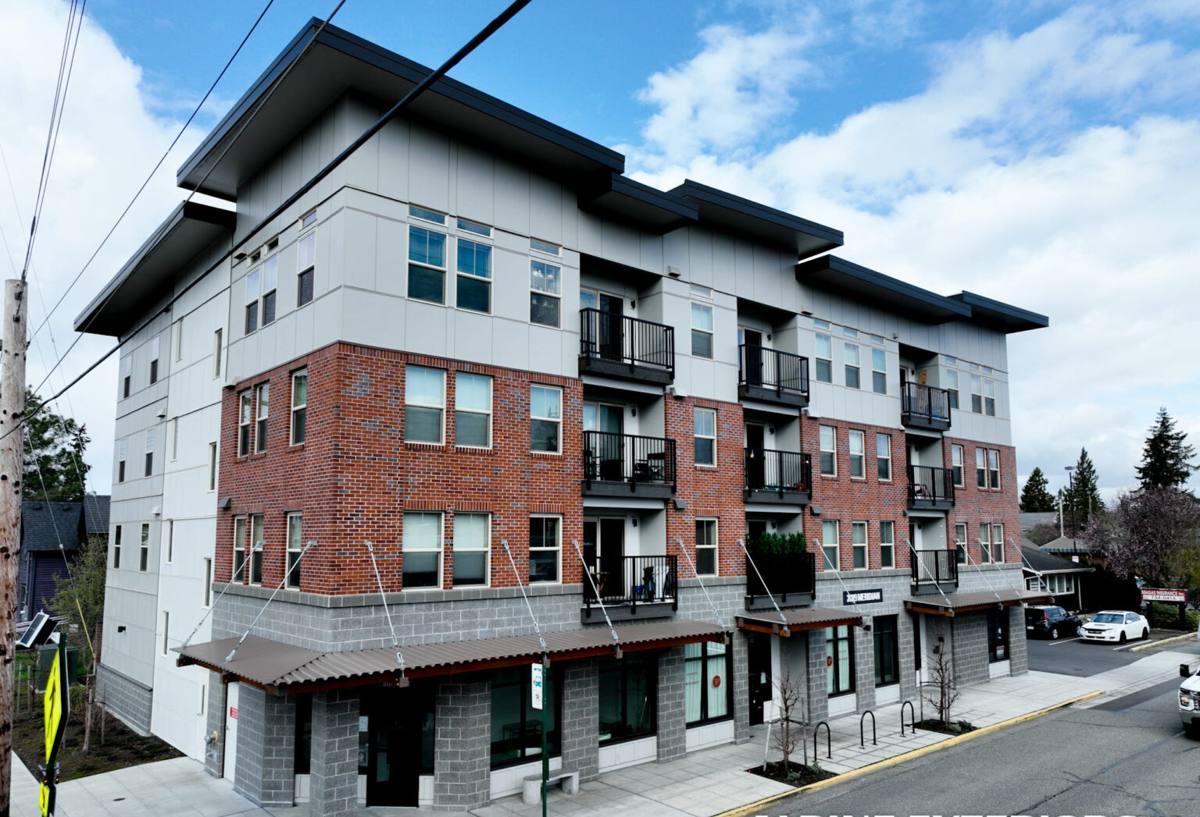
What Whatcom County's Climate Does to a New Window Opening
Northwest Washington weather isn't dramatic — it's persistent, and persistence is what wears down a window installation that wasn't detailed correctly the first time.
Salt Air and Corrosion
Proximity to Puget Sound and Boundary Bay means airborne salt reaches building materials on the Blaine side of the county more than it does further inland. Salt-laden air accelerates corrosion on unprotected fasteners, weep systems, and some hardware finishes. New-construction work gives us the chance to choose corrosion-resistant fasteners and flashing tape rated for exposure, rather than discovering years later that a cheaper fastener rusted through behind the trim.
Driving Rain
Storms here regularly bring rain sideways, not just down. A window that would perform fine in a calmer climate can leak in this region if the sill pan, head flashing, and water-resistive barrier integration aren't sequenced correctly. New construction is the easiest time to get this right because the flashing plane is still open and accessible — there's no siding or old caulk in the way.
Moss and Prolonged Moisture
Whatcom County's mild, wet stretches from fall through spring keep exterior surfaces damp for long periods, which is exactly the environment moss and algae need. Moss holds water against trim and sills longer than open air would, and that sustained dampness is harder on caulk joints, wood trim, and any gaps in flashing than a quick hard rain. Detailing the perimeter correctly at install — proper slope on sills, clean drainage paths, no dammed-up moisture pockets — reduces how much moss and standing water the window assembly has to tolerate over its life.
What a Correct New-Construction Install Actually Involves
"New construction" windows aren't a product category so much as an installation method — the window is set into a stud-framed opening before exterior finishes go on, using a nailing flange or a similar direct-to-frame attachment rather than being retrofitted into an existing finished wall. Done right, the sequence looks like this:
- Rough opening check. Confirming the opening is square, level, and sized correctly for the window unit — new construction gives us room to correct minor framing issues before they get locked in behind finishes.
- Sill pan flashing. A sloped, sealed pan under the window directs any water that gets past the glass or frame back outside instead of into the wall cavity. This is one of the most commonly skipped steps on rushed jobs, and it's the one that causes the most rot when skipped.
- Window-to-WRB integration. The window's flanges have to be shingled into the house wrap or weather-resistive barrier in the correct order — sides, then head, with the bottom left to drain — so water sheds outward at every layer, not just at the caulk bead.
- Fastening and shimming. The unit is shimmed plumb, level, and square, then fastened per the manufacturer's pattern so the frame doesn't bow and the sash operates smoothly for the life of the window.
- Insulation and air sealing around the perimeter gap, using a low-expansion foam or backer rod and sealant rather than packing it solid, which can bow the frame.
- Exterior trim and final sealant once siding crews are ready, with sealant joints placed and tooled to actually shed water rather than just look finished.
Skipping or rushing any one of these steps doesn't usually show up on install day. It shows up two, five, or ten winters later, after enough driving rain and moss-holding moisture have worked on the weak point.
New Construction vs. Retrofit — Why the Distinction Matters
Homeowners planning a Nooksack-area build or addition sometimes assume "new construction" and "replacement" windows are interchangeable. They're not, and using the wrong approach costs more to fix than it saves upfront.
| Factor | New-Construction Method | Retrofit / Replacement Method |
|---|---|---|
| When it's used | Open framing, before siding and interior trim go on | Existing finished wall, old window being swapped |
| Attachment | Nailing flange fastens directly to the framed opening | Frame fits into the existing opening, often over the old frame |
| Flashing access | Full access to sill pan and WRB integration | Limited — must work around existing siding and trim |
| Best long-term outcome | Fully integrated water management from the framing out | Depends heavily on the condition of the original opening |
| Where it goes wrong | Skipped sill pan or poor WRB shingling | Hidden rot behind old trim not caught before resealing |
If your project is new framing — a new home, an addition, or a bump-out — the new-construction method is almost always the right call, and it's the one this page focuses on. Trying to force a retrofit-style window into open framing (or vice versa) usually means fighting the product instead of the wall.
Frame Material and Glass — What Fits This Climate
New construction is also the best time to think about frame material and glass package, since you're choosing for the opening rather than matching whatever's already there. None of these are right or wrong in general — they're trade-offs worth weighing against this specific climate and your budget.
| Option | Strengths in this climate | Trade-offs to weigh |
|---|---|---|
| Vinyl | Won't rot or corrode; low maintenance against salt air and moisture; generally the most budget-friendly | Frame sightlines are typically thicker than fiberglass or wood; color options are more limited |
| Fiberglass | Very stable dimensionally, holds paint well, resists moisture-driven warping | Higher material cost than vinyl |
| Wood / wood-clad | Traditional look, good insulating properties | Exposed wood needs consistent maintenance in a wet, moss-prone climate; clad versions shift the maintenance burden to the cladding's seams and end grain |
| Aluminum | Strong, slim sightlines | Conducts heat and cold readily and can be prone to condensation without a thermal break — worth confirming that detail specifically |
On glass, double-pane with a low-E coating is the practical baseline for this region's mix of cool, wet winters and mild summers. Argon-filled units and warm-edge spacers are worth the modest upcharge on most builds — they pay back in comfort near the glass on a windy, rainy night more than they do in a dramatic utility bill swing.
How We Work With Builders and Homeowners on New-Construction Jobs
Whether you're the homeowner managing your own build or working alongside a general contractor, window installation on new construction has to be sequenced correctly with the rest of the shell.
- We review the window schedule and rough opening sizes against the actual units ordered before anything ships, so we're not discovering a mismatch on install day.
- We coordinate directly with the framing and siding crews on timing — windows go in after the WRB is up and before siding closes the wall, not whenever it's convenient.
- We flash and seal every opening the same way, whether it's one window or thirty, because consistency is what prevents the "one bad window in an otherwise good build" problem.
- We document what's installed where — model, size, and location — so warranty claims later have a paper trail instead of guesswork.
A Practical Checklist for Your New-Construction Window Install
Whether you hire us or another crew, these are worth confirming before the wall gets closed up:
- Sill pan flashing installed under every window, with a visible slope to the exterior
- Flashing tape or WRB integration shingled in the correct order — sides before head, bottom left open to drain
- Fasteners rated for the exposure this close to salt air, not just whatever was on the truck
- Shim and fastening pattern matches the window manufacturer's installation instructions
- Perimeter gap insulated with a low-expansion foam or backer rod, not packed solid
- Photos taken of the flashing and sill pan before siding covers it — useful for your own records and for any future warranty question
- Written confirmation of which glass package and frame material were actually installed, matching what was ordered
Why Hiring a Crew That Already Works in Nooksack Matters
A window installer who's worked other builds around Blaine and Whatcom County already knows which details actually matter here — where wind-driven rain hits hardest, how much moisture load the moss season puts on a poorly sealed sill, and which fastener and flashing choices hold up against salt air rather than just looking fine on install day. That's different from following a generic installation manual written for a drier, calmer region. A crew with local experience isn't guessing at what "enough" flashing looks like for this specific stretch of coastline — they've seen what happens when it's not enough.
New construction only gives you one shot at these details before they're sealed behind siding and trim. It's worth getting them right the first time.
If you're planning a new build or addition in the Nooksack area and want windows installed correctly from the framing stage forward, we're happy to walk the plans with you and give a straightforward, no-pressure estimate. There's a form below to get that conversation started.