 Blaine Window
 Window Installation Built for Bellingham's Coastal Climate
Bellingham sits on Bellingham Bay in Whatcom County, just down the road from our home base in Blaine, and the two share the same weather pattern: marine air off the water, long wet winters, and short, mild summers that don't give a house much of a break to dry out. Windows here don't fail the way they do in drier climates. They fail slowly, from the outside in, through moisture that gets behind trim, seals that give up under constant damp, and frames that never quite dry between one rain event and the next. A window installation done right in this area accounts for that from the start. One done without local experience often looks fine for a year or two and then starts showing problems that trace straight back to how it was flashed and sealed.
This page is about window installation specifically for Bellingham homes — what the climate demands, what a correct job actually involves, and how we approach it.
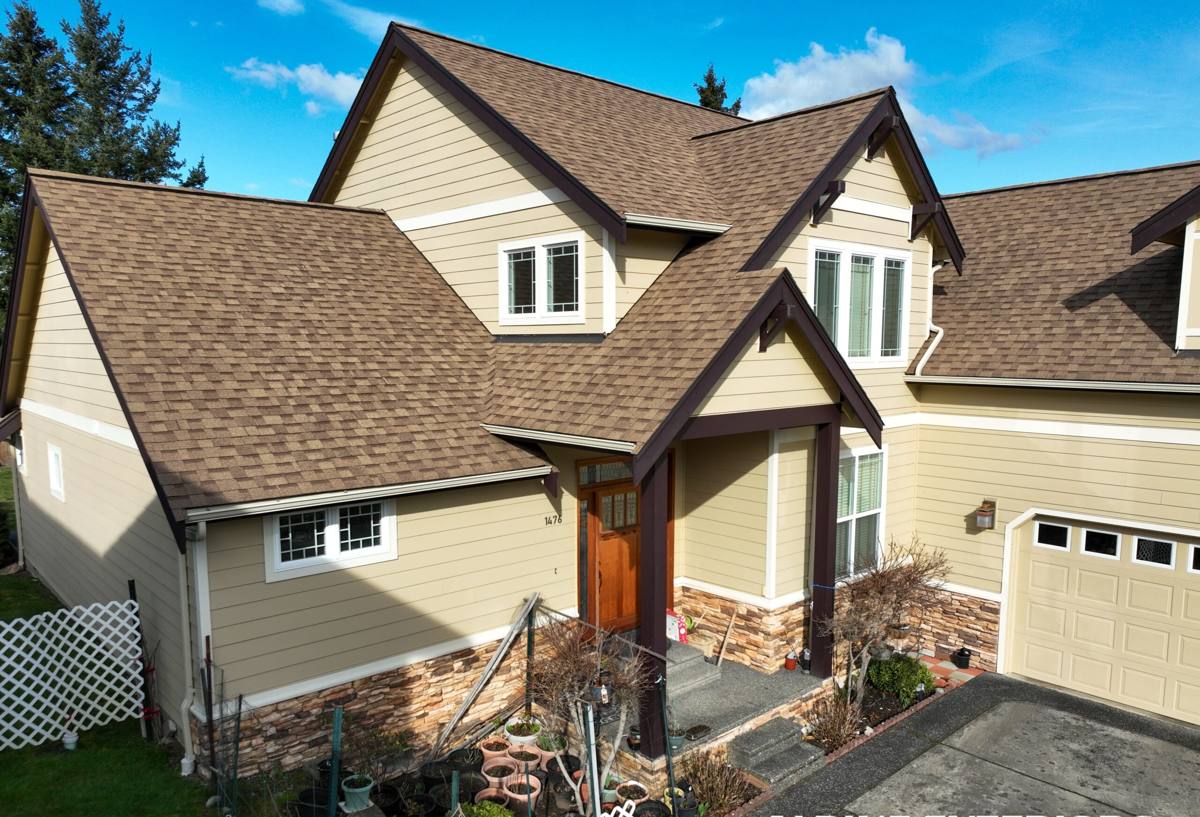
Why Salt Air, Driving Rain, and Moss Season Change the Job
Three regional conditions shape every window installation we do near Bellingham:
Salt Air
Proximity to Bellingham Bay means airborne salt settles on exterior surfaces, including window hardware, fasteners, and unprotected metal flashing. Over time, salt exposure accelerates corrosion on lower-grade hardware and can degrade certain finishes faster than they'd wear inland. This is a material selection issue as much as an installation one — hardware and fasteners need to be rated for coastal exposure, not just general use.
Driving Rain
Storms moving in off the water tend to drive rain sideways rather than straight down, which puts lateral pressure on window openings that a lot of standard installation techniques aren't built to handle. Wind-driven rain finds gaps that a vertical rainstorm never would. This is why flashing details and sealant placement matter more here than they would in a drier, calmer climate.
Moss Season
Whatcom County's wet season runs long, and any north-facing or shaded exterior surface can develop moss and algae growth if it stays damp for extended periods. Around windows, that usually shows up on trim, sills, and siding directly adjacent to the frame. It's rarely a sign the window itself is failing, but it is a sign that water is sitting somewhere it shouldn't, and it's worth having looked at.
Signs Your Bellingham Home May Need Window Installation
- Visible fogging or condensation between panes on double- or triple-pane windows — a sign the seal has failed
- Soft, discolored, or spongy trim and sill material around the window frame
- Persistent drafts near the window edge even when the window is fully latched
- Difficulty opening, closing, or locking the window due to frame swelling or warping
- Visible gaps, cracked caulk, or daylight showing around the frame from inside
- Interior wall or ceiling staining below or beside a window during heavy rain
- Persistent moss, algae, or dark streaking on siding or trim directly around the frame
Any one of these on its own might just need a repair. Several together, especially on an older window, usually mean it's time to talk about replacement rather than patching.
What a Correct Window Installation Actually Involves
The window itself is often the easy part. The details that determine whether it holds up in this climate are in the opening prep and the flashing sequence, most of which is invisible once the trim goes back on.
Opening Prep
Before a new window goes in, the existing opening gets inspected for hidden rot, soft framing, or old water damage. Any compromised material gets addressed before installation — putting a new window into a wet or rotted opening just repeats the same failure a few years down the line.
Flashing and Water Management
Proper flashing is installed in a shingled, water-shedding sequence — sill pan first, then side flashing, then head flashing, each overlapping the one below it — so that any water that gets past the window surface is directed back out rather than into the wall. This sequence matters more in wind-driven rain conditions than it does in calmer climates, because lateral water pressure will find any shortcut in the layering.
Sealing and Insulation
The gap between the window frame and the rough opening gets sealed and insulated, not just caulked at the surface. Surface caulk alone tends to crack and open back up under this region's constant expansion and contraction from damp-to-dry cycles; a proper seal addresses the full depth of the gap.
Exterior Trim and Finish
Trim and finish materials get selected and installed with drainage in mind, so water has somewhere to go rather than a place to sit. This is also where moss resistance gets addressed — a trim detail that traps moisture is a trim detail that will grow moss, regardless of the material.
Our Bellingham Window Installation Process
| Step | What Happens | Why It Matters Here |
|---|---|---|
| On-site assessment | Inspect existing windows, openings, and surrounding trim/siding | Catches hidden moisture damage before it's covered up again |
| Measurement and product selection | Exact opening measurements; discuss frame material and glass options | Coastal exposure narrows what materials make sense long-term |
| Opening prep | Remove old window, address any rot or soft framing | A new window in a compromised opening fails early regardless of quality |
| Flashing installation | Sill pan, side, and head flashing in proper shingled order | Directs wind-driven rain back out instead of into the wall cavity |
| Window setting and sealing | Level, shim, insulate, and seal the full frame depth | Prevents drafts and moisture intrusion around the perimeter |
| Trim and exterior finish | Reinstall or replace trim with drainage and moss resistance in mind | Keeps water moving off the surface instead of pooling against wood |
| Final check | Operate, lock, and inspect seals before walking the job with the homeowner | Confirms the window performs correctly before we consider it done |
Choosing Materials and Glass for This Climate
Not every window product is a good fit for a coastal Whatcom County home, and this is an area where we'll give you a straight answer even if it's not the cheapest option on paper.
| Frame Material | Coastal Performance | Trade-Offs |
|---|---|---|
| Vinyl | Good moisture resistance, no corrosion concern | Lower upfront cost; can expand/contract more with temperature swings |
| Fiberglass | Very stable in wet climates, resists warping | Higher upfront cost; fewer color options than vinyl |
| Aluminum | Strong, but prone to condensation and corrosion near salt air unless thermally broken | We recommend thermally-broken versions only, and mainly for specific architectural needs |
| Wood (clad exterior) | Attractive, traditional look; exterior cladding protects the wood | Highest maintenance burden if cladding is ever breached; more sensitive to installation quality |
For most Bellingham homes, vinyl or fiberglass frames hold up the most predictably against long-term salt air and moisture exposure. We're glad to install wood-clad or aluminum products where they fit the home's design, but we'll walk you through the added maintenance that comes with them in this specific climate before you commit.
Glass Considerations
Double-pane windows with a low-E coating are the practical baseline for this region — the coating helps manage heat loss and reduces interior condensation during the long, damp winters. Triple-pane glass adds further insulation value and is worth considering on north-facing walls or homes with higher energy costs, though it comes at a higher price point for a marginal gain in a climate that's mild rather than extreme in temperature.
What Window Installation Typically Costs
Costs vary based on window size, frame material, glass package, and how much opening repair is needed once the old window comes out. As a rough range, straightforward vinyl window replacements tend to run toward the lower end of the market, fiberglass and upgraded glass packages sit in the middle, and full custom or wood-clad installations with significant trim or structural repair run higher. Any reputable contractor should be able to walk you through where your specific project falls after an on-site look, rather than quoting a number sight unseen.
A Homeowner's Pre-Installation Checklist
- Note which windows show drafts, fogging, or difficulty operating, and when you first noticed it
- Check trim and siding around each window for soft spots, staining, or moss buildup
- Decide which rooms matter most for energy performance versus which are lower priority
- Ask any contractor you're considering for proof of licensing and insurance before work starts
- Get a clear, written explanation of the flashing and sealing approach, not just the window brand
- Confirm what warranty covers the product versus what covers the installation labor
Why a Crew That Already Works in Bellingham Matters
Window installation technique that works fine in a drier inland climate can fall short here, and the difference usually isn't visible until the first real wind-driven storm finds the gap. A crew that regularly works Whatcom County's coastal conditions already knows to flash for lateral rain, choose hardware that won't corrode from salt exposure, and detail trim so it sheds water instead of holding it through moss season. That's not a marketing point — it's the difference between a window that performs for decades and one that needs attention again in a few years.
We work throughout the Blaine and Bellingham area and see the same coastal wear patterns on homes across Whatcom County, which is exactly why our process is built around them rather than a generic national install checklist.
If you're noticing drafts, fogging, or trim trouble around your windows, we're happy to take a look. Reach out using the form below for a free, no-pressure estimate on your Bellingham home.