 Blaine Window
 Building New in Sandy Point Means Building for the Water
Sandy Point sits close enough to the water that salt air, wind-driven rain, and near-constant moisture are part of daily life for the homes out there, not occasional weather events. If you're framing a new build or a major addition in this neighborhood, the windows you choose and how they're installed will do more to determine your long-term maintenance bill than almost any other exterior decision. This page is about doing that job right the first time, while the walls are still open and there's no drywall or siding to work around.
New-construction windows are a different job than a replacement. On a replacement, we're working with an existing rough opening and matching what's there. On new construction, we're setting the window into a bare framed opening, tying it into the water-resistive barrier (WRB), flashing it from scratch, and coordinating with the framer, siding crew, and sometimes the stucco or masonry trade. There's more to get right, but there's also more opportunity to get it right — which matters a lot for a Sandy Point lot.
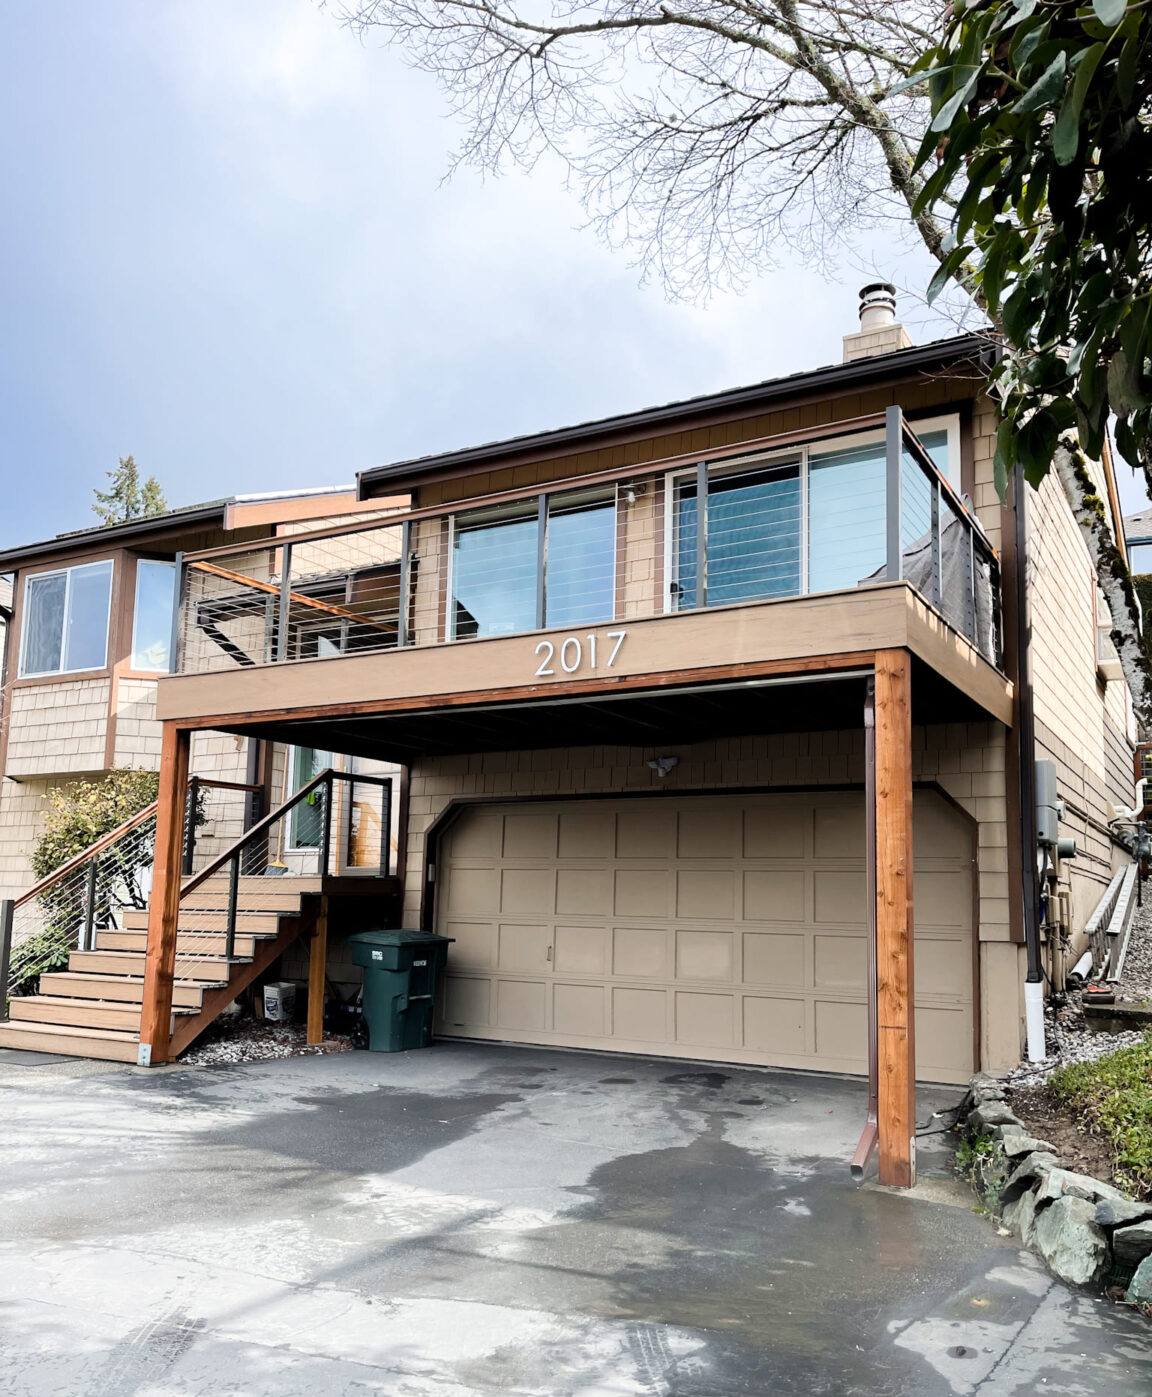
What Sandy Point's Climate Actually Does to a Window Opening
Whatcom County weather isn't dramatic compared to some parts of the country, but it's relentless. A few things specific to Sandy Point and similar shoreline areas around Blaine are worth planning for from the design phase forward:
- Salt-laden air accelerates corrosion on fasteners, hinges, and lower-grade cladding finishes over years of exposure.
- Driving, wind-pushed rain hits window openings at an angle, not just straight down, which means flashing details matter more here than in a sheltered inland lot.
- A long moss and algae season keeps exterior surfaces damp for extended stretches, which is hard on any material that isn't dimensionally stable or properly sealed.
- Wind exposure on open or elevated lots near the water adds real air-infiltration pressure at every window seam.
None of this means new construction in Sandy Point is a special or exotic build. It means the flashing sequence, sill pan, and product selection need to assume sustained moisture exposure rather than occasional rain — because that's the reality out there.
What a Correct New-Construction Install Actually Involves
The Sequence Matters More Than the Window
A premium window installed with a sloppy flashing sequence will leak eventually. A mid-grade window installed correctly, with proper shingle-lap flashing and a sloped sill pan, will hold up for decades. The order of operations is not optional:
- Rough opening is checked for square, level, and correct dimension before anything else happens.
- A sloped sill pan is formed so any water that gets past the window drains back outward, not into the framing.
- Self-adhered flashing tape or a compatible liquid-applied flashing seals the sill and jambs, integrated with the WRB already on the wall.
- The window unit is set, shimmed, and fastened per the manufacturer's structural requirements — not just "however it fits."
- Head flashing goes on last, lapping over the WRB above the opening in proper shingle fashion so water sheds down and over, never behind.
- Interior and exterior sealant joints are completed, with the interior air seal treated as seriously as the exterior water seal.
Skip or shortcut any one of these steps and the window itself becomes almost irrelevant — water will find the gap.
Why the Interior Air Seal Gets Overlooked
Most homeowners (and some crews) focus entirely on the outside — flashing, caulk, trim. The interior air and vapor seal around the frame matters just as much. A poorly sealed interior gap lets warm, moist indoor air migrate into the wall cavity, where it can condense against cold framing during Whatcom County's cooler, wetter months. That's a slow path to hidden rot that has nothing to do with the exterior flashing at all. We treat the interior seal as a required step, not a finishing touch.
Choosing Materials for a Salt-Air, High-Moisture Lot
| Factor | What to Look For in Sandy Point | Why It Matters Here |
|---|---|---|
| Frame material | Fiberglass or well-clad vinyl with corrosion-resistant hardware | Salt air accelerates corrosion on exposed metal fasteners and hinges over time |
| Glazing | Dual-pane, low-E, argon-filled as a baseline | Reduces condensation risk and improves comfort near a cooler, damp shoreline |
| Flashing system | Self-adhered flexible flashing plus a formed sill pan | Driving rain hits openings at an angle; a flat, unsloped sill invites standing water |
| Exterior trim/cladding tie-in | Material compatible with the siding system, properly back-primed if wood | Long damp seasons keep bare or poorly sealed trim wet for extended periods |
| Hardware finish | Marine-grade or coated hardware where budget allows | Standard finishes can pit and corrode faster within a mile or two of saltwater |
None of this requires the most expensive product line on the market. It requires matching the product to the exposure, and that's a conversation worth having before the order gets placed — not after the windows show up on site.
Coordinating With Your Builder or GC
On a new-construction job, we're rarely the only trade on site. Getting the sequencing right means talking to your framer and siding installer before the windows go in, not after. A few things we confirm on every Sandy Point job:
- Rough openings are framed to the exact manufacturer specs before the windows arrive, avoiding field modifications that compromise structural shimming.
- The WRB (housewrap or building paper) is installed and lapped correctly before window flashing begins, so our flashing integrates into it rather than fighting it.
- Siding or trim details are known in advance, since the reveal and flashing extension depend on what cladding is going over the flange.
- A clear handoff point is agreed on: where our scope ends and the siding crew's begins, so nothing gets skipped between trades.
This coordination is where a lot of new-construction water problems actually originate — not from a bad window, but from a gap between trades where nobody owned the flashing detail. We'd rather have that conversation up front.
Why a Crew That Already Works Sandy Point Is Worth Something
There's no substitute for having installed windows on this stretch of coastline before. We already know how exposed a given lot is likely to be, how much wind-driven rain a west- or water-facing elevation typically takes, and which flashing details hold up under that kind of repeated exposure over years, not just through one inspection. That's not something you can fully get from a spec sheet — it comes from having done the work in this specific area and having gone back to see how it performed.
We also know the practical side of building here: permitting expectations in Whatcom County, working around tight lots and limited staging space that's common near the water, and scheduling around the weather windows that actually make sense for exterior work in this climate rather than fighting it.
What to Expect From Our Process
Before Installation
We review the window schedule against the actual framed openings, confirm product selection matches the exposure of each elevation, and walk the WRB installation with the framer or GC before any window goes in.
During Installation
Every opening gets the full sequence — sill pan, flashing, structural fastening, head flashing, and interior seal — documented as we go. We don't treat any of these steps as optional shortcuts to save time.
After Installation
We walk the finished openings with you or your GC, confirm operation on every unit, and leave clear documentation of what was installed and how it was flashed, which is useful for your records and for future siding or trim work.
A Simple Checklist If You're Managing the Build Yourself
- Confirm rough openings match manufacturer specs before windows are ordered.
- Ask what sill pan and flashing system will be used, specifically — not just "we'll flash it."
- Confirm the flashing sequence integrates with your WRB, with proper shingle-lap order.
- Choose frame and hardware materials rated for coastal or high-moisture exposure.
- Get clarity on which trade owns the transition between window flashing and siding.
- Ask for documentation or photos of the flashing before it's covered by siding — once it's closed up, it's not visible again.
Getting Started
If you're framing a new build or planning a major addition in Sandy Point, the best time to talk with us is before the windows are ordered, so the openings, flashing plan, and product selection all line up from the start. We're happy to take a look at your plans, talk through what your specific lot and exposure call for, and give you a straightforward, no-pressure estimate — just fill out the form below to get started.